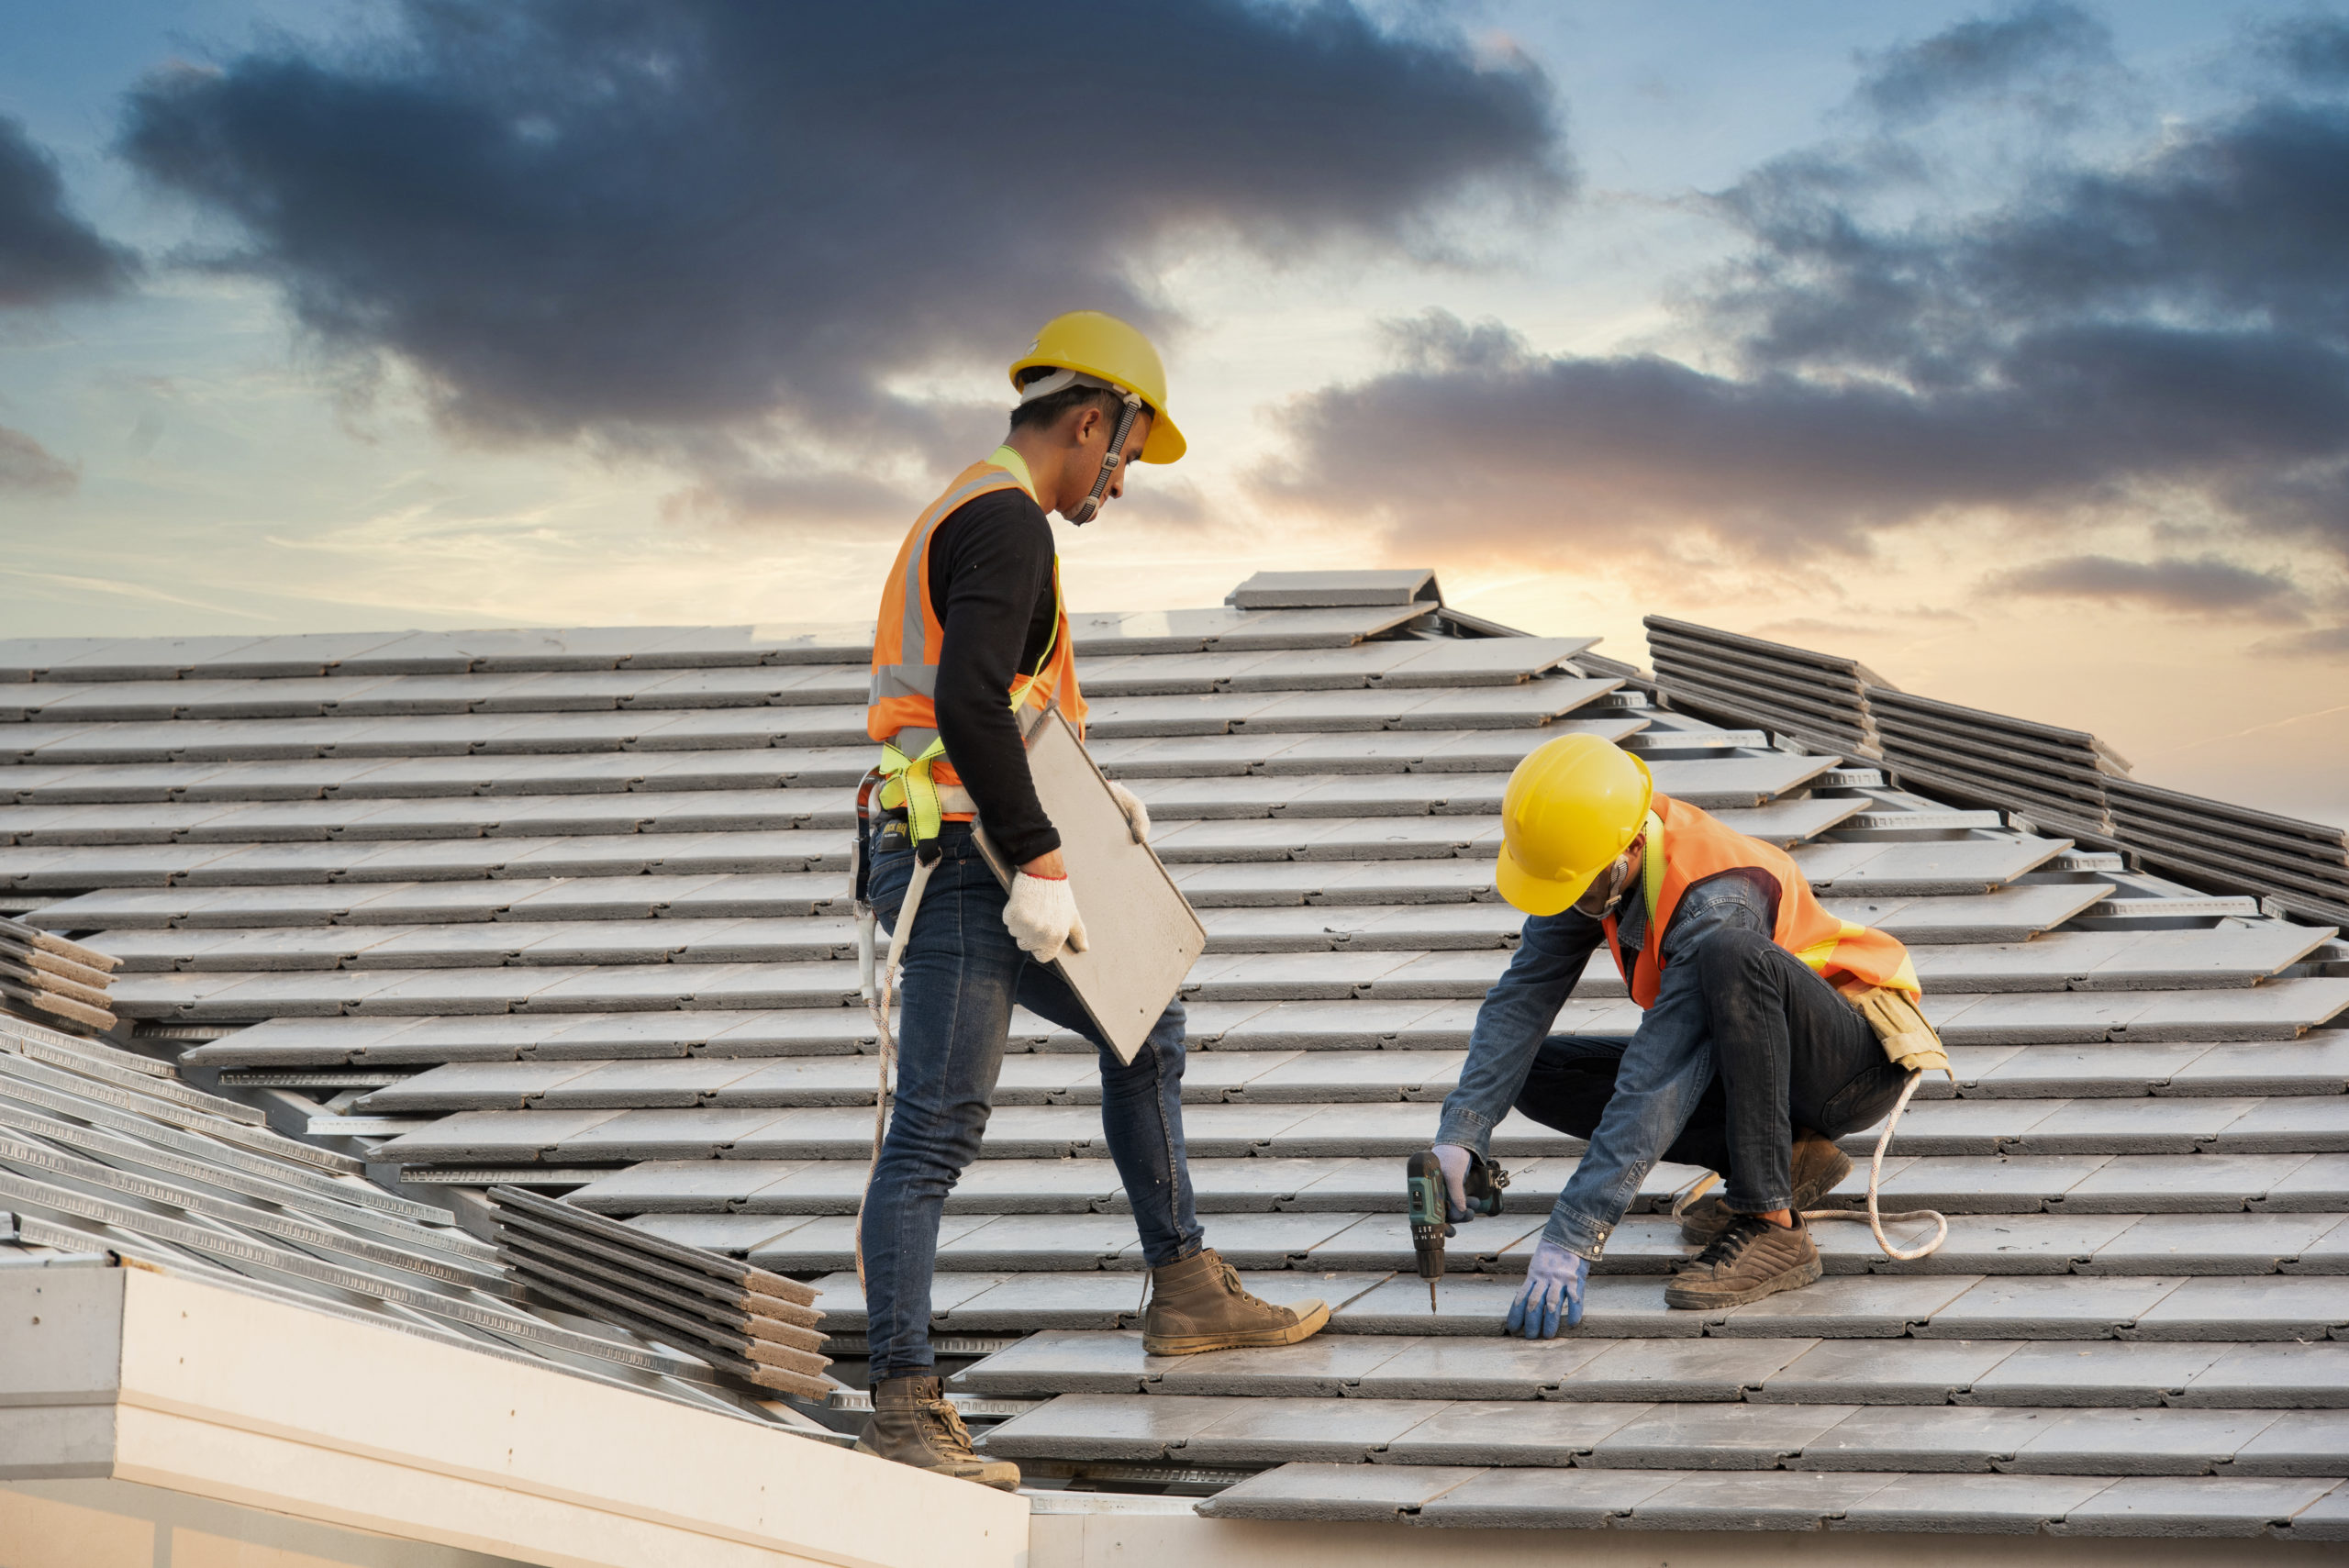
When it comes to enhancing your home’s curb appeal and protection against the elements, a siding upgrade is a wise investment. However, what goes on behind the scenes during the siding installation process is often a mystery to homeowners. In this article, we’ll take you on a journey behind the scenes, demystifying the siding installation process to help you make informed decisions for your home.
1. Assessment and Planning
The first crucial step in any siding installation project is a thorough assessment of the existing conditions. Experienced siding contractors will inspect the current siding, identify any structural issues, and assess the overall health of the exterior. This initial examination lays the groundwork for a well-informed plan tailored to your home’s unique needs.
2. Material Selection
Choosing the right siding material is a pivotal decision. Whether it’s classic vinyl, durable fiber cement, or the timeless appeal of wood, the material sets the tone for the entire project. Factors such as climate, budget, and personal preferences play a role in this decision-making process. Your siding contractor will guide you through the options, explaining the benefits of each material and helping you make a choice that aligns with your goals.
3. Preparation and Protection
Before the installation begins, your home must be prepared for the siding transformation. This includes removing the old siding, addressing any underlying issues, and ensuring a clean and smooth surface. Protective measures, such as covering windows and landscaping, are implemented to prevent any damage during the installation process.
4. Insulation Installation
While often overlooked, insulation plays a crucial role in the energy efficiency of your home. Professional siding contractors ensure that the insulation is properly installed, reducing energy costs and increasing the overall comfort of your living spaces. This step is particularly important for homeowners looking to improve their home’s energy efficiency.
5. Siding Installation Techniques
The installation itself involves precise measurements, cutting, and fitting of the chosen siding material. Whether it’s horizontal or vertical siding, each piece must be carefully aligned and secured to create a seamless and visually appealing finish. Experienced installers pay close attention to details, ensuring that the final result not only looks great but also withstands the test of time.
6. Trim and Finishing Touches
The beauty is in the details, and this holds true for siding installations. Trims, corner posts, and other finishing touches add character and elegance to your home’s exterior. Your siding contractor will skillfully incorporate these elements to enhance the aesthetic appeal of your property.
7. Final Inspection and Clean-up
Once the siding is in place, a final inspection is conducted to ensure everything meets the highest standards. Any remaining debris or construction materials are cleared away, leaving you with a polished and renewed exterior.
In conclusion, a successful siding installation is a well-orchestrated process that combines expertise, careful planning, and attention to detail. By understanding the behind-the-scenes aspects of the installation process, homeowners can approach their siding projects with confidence, knowing that their homes are in capable hands. If you’re considering a siding upgrade, consult with trusted professionals to embark on this transformative journey for your home.


